 Serial production
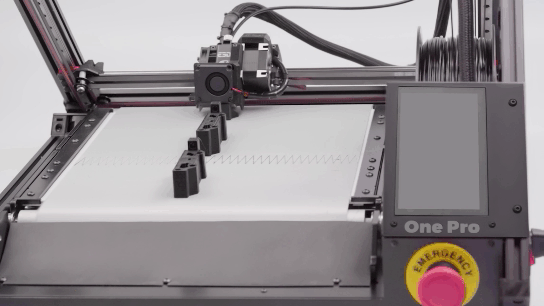
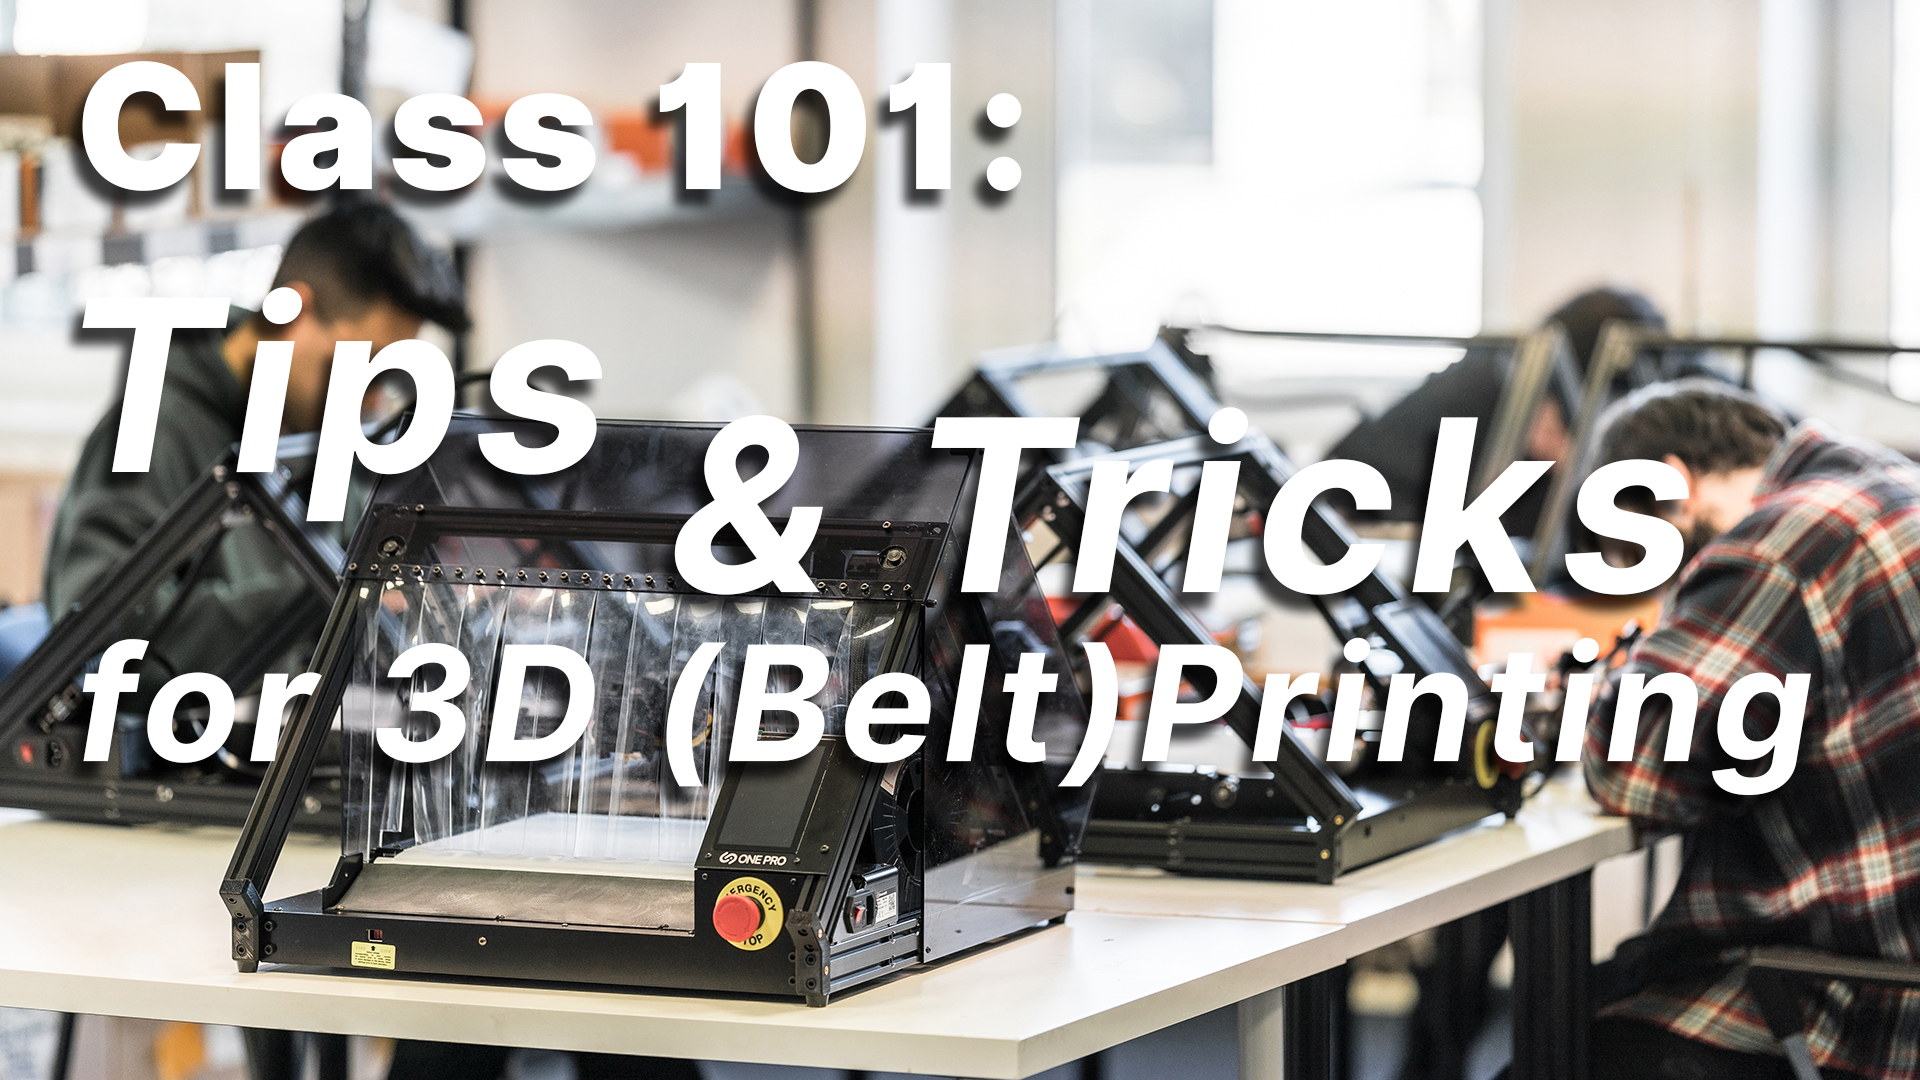
The 3D belt printer offers unique advantages in additive manufacturing, enabling continuous production and versatile designs. Below are 13 important steps and a tip or two to follow to make your 3D conveyor belt printing run smoothly. If you follow these basic rules you will be able to achieve long-lasting productivity and a variety of exciting projects with your iFactory3D belt printer.
1. Calibration is key:
Actually the most important tip with 3D printing in general first: Make sure your printer is accurately calibrated. Accurate levelling and alignment are crucial for consistent layering and high quality prints. With the One Pro, the automatic bed levelling function helps with this.
2. Optimize the print speed:
Experiment with printing speeds to find the right balance between pace and print quality. Faster speeds can have a detrimental effect on detail, while slower speeds can improve accuracy. Since for conveyor belt printing you must consider movement in the Z-direction, changing the speed can have an even greater effect on the surface, and sometimes higher print speeds will produce the desired result.
3. Position on the print bed:
With conveyor belt printers, it can often be crucial how the object is placed on the print surface. In the slicer software it is easy to see which position is optimal for the object. For shoe insoles, for example, a half-diagonal alignment across the belt has proven to be material-saving and for an absolutely clean result. That’s our tip for your 3D printing on the conveyor belt. With the conveyor belt, it is always important to note how the object is aligned with the unwinding edge of the belt and this can determine the success of the print. If you are unsure, you can always contact iFactory3D’s customer service about these specifics.
4. Choose support structures wisely:
Even though 3D belt printers require fewer supports, they are still advantageous in some designs. Use supports only where they are necessary to maintain the integrity of complex geometries. Slicers designed specifically for 3D belt printers, such as the Meta3D slicer, can selectively place support structures with a brush function. This saves material and post-processing (removing of the extra material) is reduced to a minimum.
5. The choice of material is important:
Choose materials that match the intended use of the object. The One Pro conveyor belt printer can handle a variety of different filaments. These include PETG, PLA, TPU, ABS, PVC, etc. Material blends such as PLA with natural wood fibres can also be processed with the printer. Depending on the material, adhesion must be controlled; the temperature of the heating bed and nozzle as well as the printing height should always be adjusted for printing. For many materials, iFactory3D provides corresponding standard print profiles that should only be checked and adjusted accordingly.
6. Maintenance routine:
Regularly check and clean the printer components, including the belt and nozzle.
This prevents the accumulation of contaminants that could affect print quality. Regular retensioning of the moving GT2 belts and the belt unit is essential for consistently good print results. Replacements for typical wear parts such as the belt and nozzles can be found in the ifactory3d.com shop.
7. Design considerations:
Consider the strengths of the printer when designing. Take advantage of its ability to print long objects or intricate geometries, for example with overhangs or cavities, for unique projects.
8. Test and repeat:
Before venturing into large projects, test and repeat smaller designs to refine settings and identify potential problems. This can save material if the settings were not optimal at first. For large objects, test a simplified, low-fill, long version to check how the object rolls off the conveyor belt. Perfecting the setting is also important for serial production, because after that the printer can produce for you for days without errors.
9. Check first layers:
The first applied layers form the basis for the entire print. Monitor the first layers closely to ensure proper adhesion and alignment. If several parts are to be produced, only the first object needs to be monitored. Each start of the same model can then be done automatically without monitoring.
10. Minimize the movement of the parts:
Optimize print settings to minimize drag and movement of parts on the belt during printing. Excessive vibration can cause layer shift or other printing errors. To avoid errors, the flow speed and layer application must be balanced, and the adhesion on the belt itself must be stable. In general, the printing process on an iFactory3D belt printer is low in vibration thanks to the solid pyramid shape. On a flat, solid surface, the One Pro is therefore hardly disturbed by external influences.
11. Use cooling:
Use cooling fans or adjustments to control temperature fluctuations during printing to improve layer adhesion and prevent deformation. In addition to fans, the One Pro has a hot and cold zone in the print bed so that deformation of the printed parts is reduced to a minimum. The printed part cools down in a targeted manner before it leaves the print bed; this prevents spontaneous warping.
12. Pay attention to the post-processing:
Just as with conventional 3D printing, you should consider post-processing techniques such as sanding or varnishing to enhance the final product. The different surfaces that are created depending on whether the side is facing the belt (structure embossing) or not, can be individually processed and often give your end product a special character. We will be happy to advise you on which finishing processes and treatments are suitable for which material. Our team has extensive expertise in the field of polymers and their functions, and will be glad to give you a tip for optimal 3D printing.
13. Record successful settings:
Keep a log of successful print settings for different materials and designs. This reference can save time in the future. For example, you can easily save and file it in Meta3D Slicer. And if you want to do some good, share your findings with iFactory3D so that even more users can benefit from your experience.
By applying these simple techniques, you can unlock the potential of your 3D belt printer for efficient, high-quality additive manufacturing. Remember, experimentation and iteration are the keys to realizing the full potential of this innovative printing method. If you have any questions or feedback, please contact our support service. Solutions and new settings will be gladly shared by iFactory3D to make the use of this advanced technology even more accessible and thus even more influential in improving existing production processes.