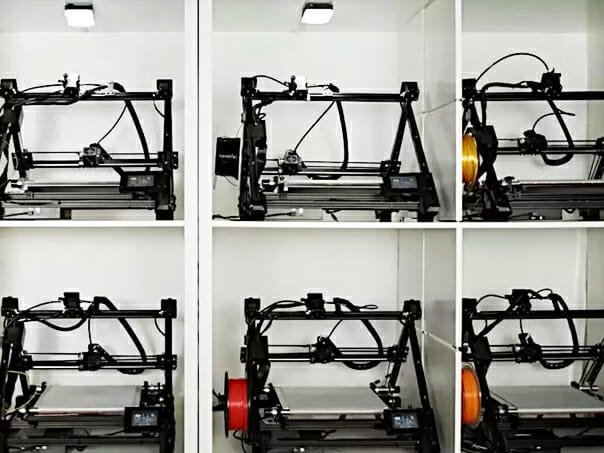
 Serial production
Information and instructions for commissioning:
Please read the instructions and safety information carefully before operating your printer. After the first assembly as well as after each performed adjustment (e.g. change of the belt), a calibration of the mounted printer is required.
Under “One Pro instructions” you will find the complete manual, which contains information about assembly, maintenance, and the setup and calibration of your printer. Additional relevant instructions for the use of your One Pro 3D conveyor belt printer are also provided there.
Under “Other manuals” you will find all previously published manuals that are available for the use of the previous model One.
For more information on 3D belt printing, please refer to the FAQs directly below the download section for the manuals.
One Pro instructions
Other manuals
FAQ
PETG, PLA, ABS, ASA, TPU, PC, and NYLON. For printing ABS, ASA, NYLON, and PC we recommend an enclosure.
Insert the filament only after the nozzle of the printer is heated.
Insert the filament through the filament runout sensor. Then the filament passes through the PTFE tube to the print head. When activated via the filament change control menu or by pressing the manual lever, the 3D printer feeds the filament into the extruder, where it is then automatically transported further.
The filament can also be easily removed in the same way.
The integrated spool holder supports up to 1kg spools in the build space of the printer.
You can reposition the existing spool holder outward to support spools up to 2.5kg spools. For larger spools, please use an additional external spool holder.
The printing time depends on several important factors besides the material used, also the slicer settings and the geometry of the object to be created.
The slicer settings:
– Layer height/width of the individual filament layers
– set speed
– set or resulting acceleration
– size and amount of fills
– retraction values
The individual object geometry:
The larger the volume of the object to be printed, the longer the printing time.
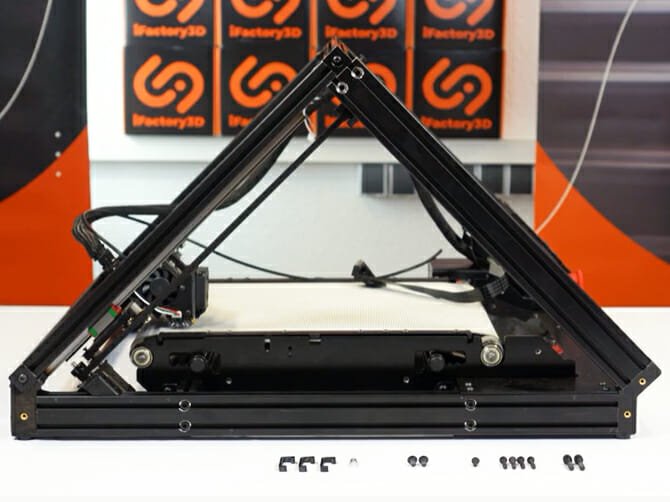
With our machine, due to the use of precision components, the reduction of disturbing oscillations or vibrations, and the stable pyramid design, we achieve comparatively high speeds.
The printing speed is also limited by the melting ability of the material in the hot end:
Using a Volcano Hotend (with a longer melt zone in front of the nozzle) allows twice as much material flow compared to a standard hot end.
Generally speaking, the printing speed behaves anti-proportionally to object quality.
Realistically achievable values for slicer settings with the quality standards are <150mm/s
The Z-axis is defined as an assembly line axis and is therefore theoretically unlimited. This results in an installation space of up to 280mm in width, approx. 170mm in height and infinite length.
For components that extend more than approx. 20cm beyond the printer dimensions, we recommend the use of a print bed extension to support the object.
We are working on an AI error detection called PrinterGuard.
The defect detection analyzes camera images that are created during active printing. PrinterGuard thus checks the component quality. In the future, the AI will be able to independently interrupt printing in the event of errors and make suggestions for improvements for further print jobs.
At present, automatic error detection is not included in the scope of delivery; the expansion offer for retrofitting this new development is in preparation.
The assembly line automatically ejects the completed objects at the front of the printer. If there are other print jobs in the queue, they will be started automatically after the previous object is completed.
To add a print job or G-code to the queue, simply press the “Print” or “G-code to queue” icon.
The order and number of jobs to be printed can also be adjusted subsequently and during an active print. The current printing process is not interrupted by this.
The assembly line automatically ejects the completed objects at the front of the printer. If there are other print jobs in the queue, they will be started automatically after the previous object is completed. To add a print job to the queue, simply select the Print icon. The order and number of jobs to be printed can also be adjusted subsequently during active printing, but the currently printed object will be completed in any case.
Some portals offer partly free 3D models and instructions for download.
Examples are:
thingiverse.com, cults3d.com, yeggi.com, grabcad.com.
In addition, objects can be created with CAD software and then printed with the One Pro 3D printer.
The following file types can be processed with Ideamaker Slicer:
Stereolithography (.STL)
Wavefront Objects (.OBJ)
3D Manufacturing Files (.3MF)
OLT Printing File (.OLTP)
The “Ideamaker” software from Raise 3D is currently supported as slicing software.
Alternatively, an adapted version of Cura can be used, which supports 45° slicing.
We are also working on our slicing software, which should be released before the end of this year.
The user interface is the user interface of “Repetier Server.”
The printer will be operated with “RepRap” firmware.
The conveyor belt automatically transports the objects to the front of the printer, where they are automatically detached with the help of a mounted scraper.
During this process, a cold zone in the front area prevents the printed parts from warping.
It is also possible to detach the objects from the conveyor belt by hand. Special care must be taken not to damage the conveyor belt with sharp objects such as spatulas or scrapers.
Our customer support is generally available via email, here you can also arrange phone calls or video calls with a representative.
The tutorials, including software and hardware configuration, provide free information to support your 3D assembly line printing projects.
Take advantage of our advice on material or design issues or create a 3D model optimized for assembly line printing.
Order the realization of your order directly in our Print Farm.
Our R&D department realizes, according to your specifications, individual changes to the assembly line printer or constructs a customized model, which is exactly tailored to your wishes.
Depending on the object geometry, support structures are necessary to prevent a print start in the air. This applies regardless of the print angle!
The One Pro with a print angle of 45°, allows you to create free structures in the conveyor belt direction.
In the direction of the Z-axis, overhang angles between approx. 60° and -20° are possible without the use of support structures.
We found that when creating a 3D object with our 3D assembly line technique, there tends to be less need to use support structures. However, depending on the geometry, more structures may be necessary in individual cases.
The main differences are divided into three groups:
– Printing overlong objects
– Batch production
– Hollow objects and overhangs
The combination of the 45° print angle and the conveyor belt as a print bed allows:
– an endless printing process in one spatial direction
– the production of long objects
– a serial production
– a manufacturing process without direct vertical contact with the print bed
Any more questions?
Our customer support team will be happy to assist you!